But how do you actually go about creating these online courses? Many L&D managers outsource or have an in-house e-learning specialist, however, this can often be an expensive and time-consuming process. These e-learning specialists often don’t have the domain knowledge and must engage in a slow back and forth process working with subject matter experts (SMEs). The typical time to market for a course created in this way is three months or longer. This lengthy process also means that course content often becomes outdated – sometimes even before it’s published.
However, easy to use e-learning authoring tools have changed all this. Instead, they enable Employee-generated Learning. Subject matter experts from across your business can create courses quickly and easily. Your e-learning specialists are then freed up to ensure the didactic quality of every course.
Employee-generated Learning paired with a user-friendly e-learning authoring tool empowers your organization to vastly increase the number of e-learning courses you’re able to create. T-Mobile, for example, were able to increase their training output by 5 times, while only using 25% of their L&D resource.
Creating e-learning courses with Easygenerator
Easygenerator is one such simple e-learning authoring tool. With Easygenerator, you can start publishing courses online in five easy steps. When you start creating courses, the course editor will guide you through the entire process, ensuring your course is both engaging and didactically sound.
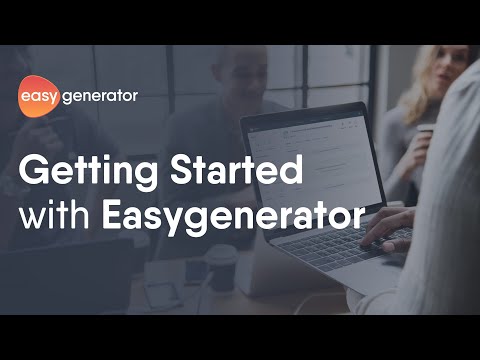
Watch our video to get a quick overview of how simple it is to start creating courses in Easygenerator.
When you create a course from scratch, the first thing you need to do is choose a template. You can switch the template later on.
Create quality e-learning faster
Want to create high-quality training in a fraction of the time? Watch our free webinar for 6 time-saving tricks to create e-elearning.
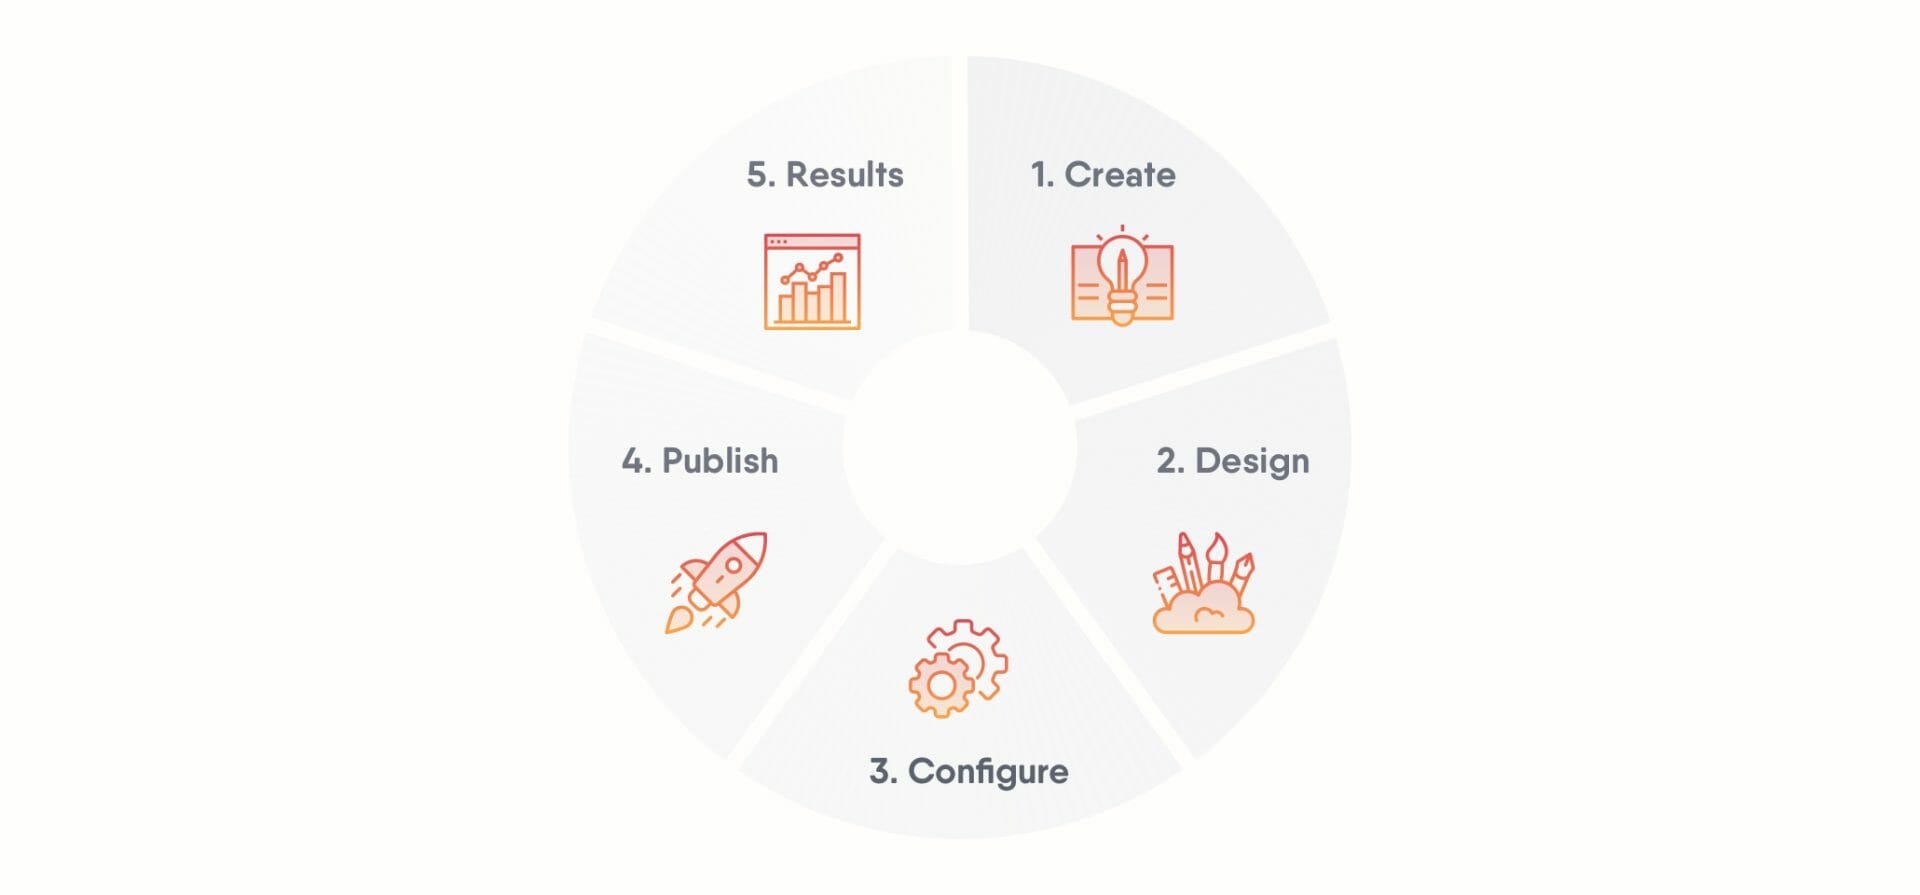
To create a course, follow these simple steps:
Step 1: Create
Start with adding a new section and fill in some content.
On the left side menu, there’s a list of all available content and question items, and you can simply drag and drop any of them into a course section.
Step 2: Design
Under the Design tab, you can create themes and adjust the branding of your course.
Step 3: Configure
Under the Configure tab, you can set up different course settings, like results tracking, language, etc. Depending on the template, the settings may differ.
Step 4: Publish
Easygenerator provides a few options to publish courses:
- publishing on Easygenerator server and sharing a private link
- publishing inside a website
- publishing to your LMS
- publishing to your hosting
When the course is published you can update it anytime and download the updated package.
Step 5: Results
Under the Results tab, you can see your learners’ results per section and question if results tracking and reporting to Easygenerator is enabled.